Tuesday, February 17, 2015

Navajo Weaving


Hello!

Today sadly was my last day. It wasn't until the end of class that it hit me. I had grown to love the children and I am sad to have to leave them as were they.

Since it was the last day, we tried to go back to what we learned at the beginning and add more to their learning with a simple project.

Here is the link to my powerpoint:
https://docs.google.com/presentation/d/1jJOP-VZZguKvwJR5v6X12nHTjyYwPKqyh4MGnowcCBk/edit?usp=sharing

We talked about Navajo Native American basket and rug weavings. We talked about color and geometric shapes, radial design, and symmetrical design. We watched a video about how Navajo's weave their rugs starting from the beginning of raising sheep. After raising sheep, they took their wool and washed it. Next they brushed the wool out with special brushes. Next they take the wool and spin it on a spool. Next they dye it with natural dyes found in the wild. After they create their loom and start weaving.

The students thought this was super interesting. I explained that it sometimes is important to start at a easier and similar beginning, and progress over time to harder tasks. This is the case with rug weaving. So we did some weaving of our own but in a simpler way.

We weaved yarn on cups!

To prepare: Cut clear solo cups horizonally an odd number of times for each child. Pre cut and make balls of yarn colors for students to choose from. It lessens the time needed to get the materials and more time to make the cups.

It is super easy to figure out and the children really enjoyed it. It was hard at first for many but after going around and reminding them to keep on pushing down the string both on the inside and outside they were able to make their cups quite fast! Some were slower but that is totally fine.

We also talked about color choices and design choices that they would make while weaving their cups. Some used multiple colors, some only 2 colors and they all chose individually how much color they wanted to include. They all looked pretty cool.

Unfortunately I wasn't able to see the finished product. They had to finish after I left.


Tuesday, February 10, 2015

Ephemeral Art


Hello!

Today we talked about ephemeral art. This is art that last a very short amount of time.
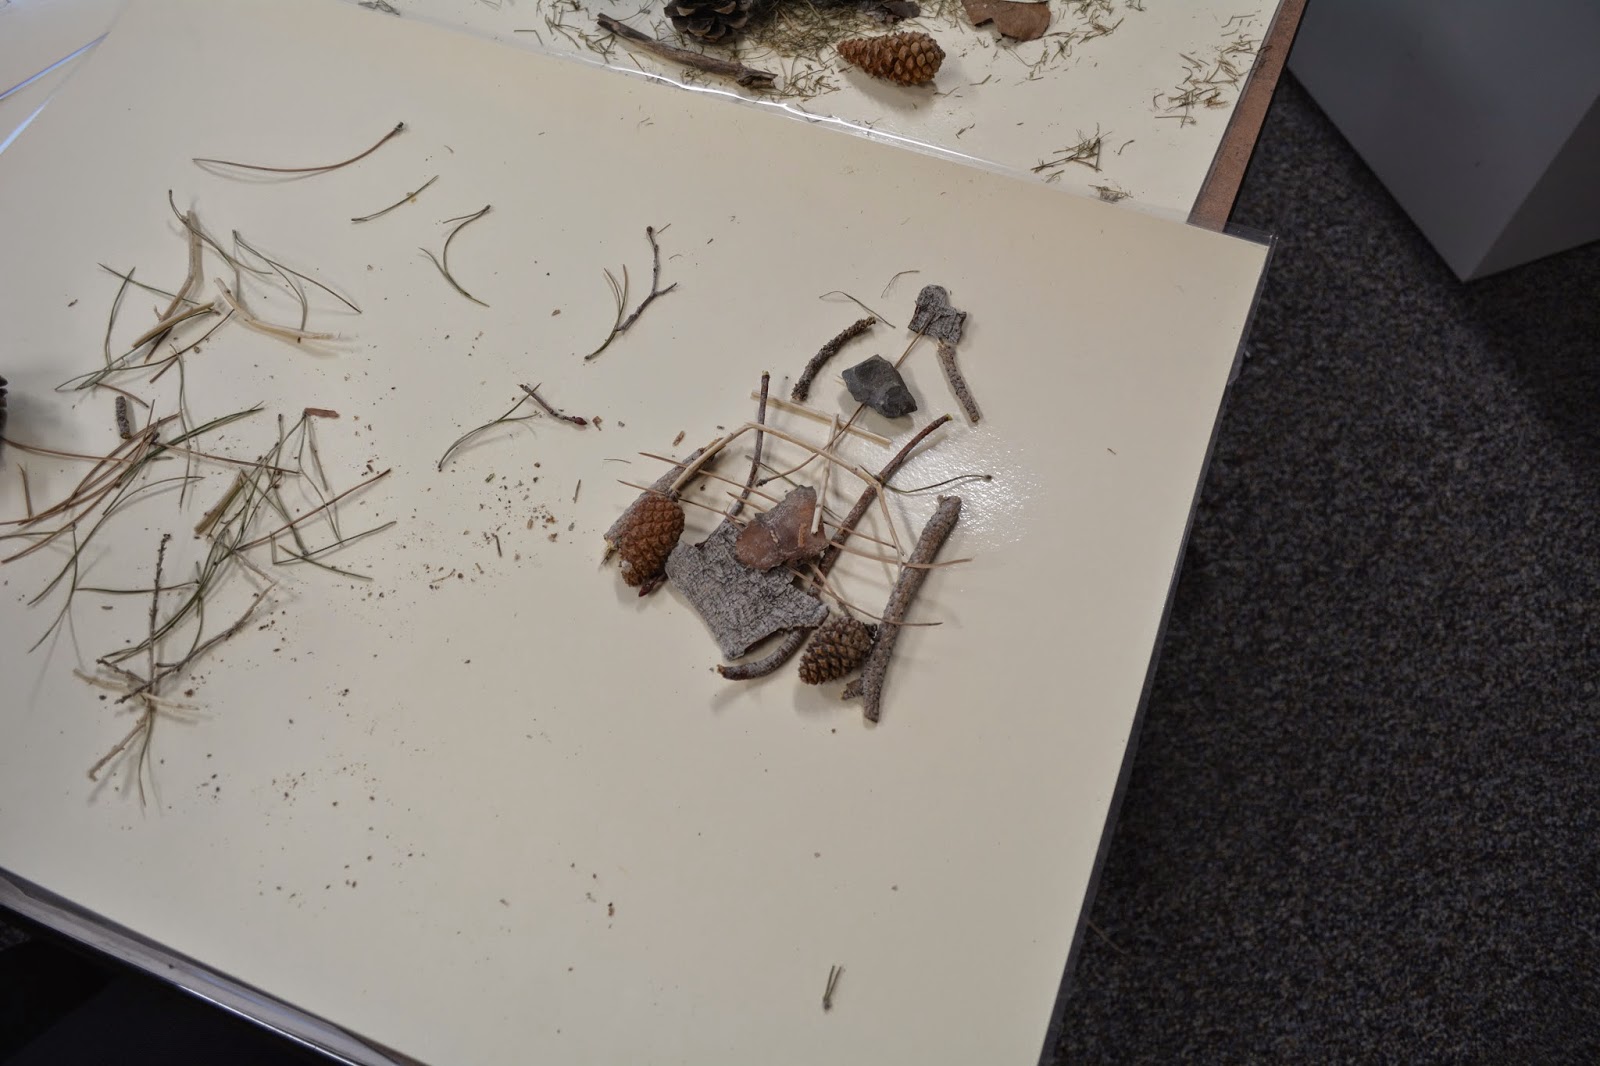
So before we started we had a few technical difficulties so while my teacher was trying to fix that I had my students to stand up and try to make different geometric shapes with their bodies and or with a partner. It was super fun and it got the kids up and moving!

Once the powerpoint was up, I discussed with them what the word ephemeral means. I showed them examples and the teacher added different scientific or mathmatic elements such as erosion (sand), melting points, freezing point, geometric design and shapes. I also talked about what a radial design was and that the word radial comes from the word radius. The kids really enjoyed looking at the examples that I provided. I also showed a piece that I have done and some pieces that children from the Utah State Hospital had created. The students really enjoyed it!

Here is the link to my powerpoint: https://docs.google.com/presentation/d/1c1tw0EC13kexveVfjLX2Bm2rmarHlX3ewMNjfgG_IZQ/edit?usp=sharing

So my teacher before class was in session had the students to go out and explore and pick up different outdoor materials to use for this project. They found rocks, pine cones, twigs, branches, pine needles and many other things that we used.
Another way to prep could be to have the students over the weekend to find their own materials from their back yards.
Or if you have enough time and outdoor materials you could do this whole lesson outside! I think that would have been great to do if it wasn't about to rain today.

We had the materials in the back and each table was called back to pick about 10 or so pieces to take back to their desk. Once it got to the last table not much of the cool stuff was left so I would recommend to leave an extra bag behind until the last table arrives and bring out that bag of new things.

Once settled back down into our desks I would give a shape and have the children to create the shape with their materials. They were limited as to what materials they picked. I gave them shapes such as a pentagon, triangle, or a circle. Then I asked them to create a radial design and to use all of their pieces. Next I came up with something super difficult to do with the pieces they were given, a cube!
They knew what a cube was but it was interesting to watch them try to solve that problem to put together a cube. Next I asked them to build something 3D that was interesting and would use all of their pieces. By this point the students were running out of ideas so I decided that they would stop what they were doing and all move to a different spot with different materials. They then were told to make an interesting 3D design building off of what the last person created. We switched around several times. The students who were not given the best materials at first were able to play around with better materials. As they were making everything I went around and took pictures. It was way fun!

The students understood that they could make art with the limitations of no glue or paper. They would make art that would last only a few minutes until they made another design. It was super fun and easy to clean up too!


Friday, February 6, 2015

Class Origami Box Installation


Hello!

Today we continued with our printmaking projects. The students finished their prints and they look great! Some have too much paint on them so you can't see the shapes they drew but now they know that they need to use less paint!

First we talked about being vulnerable. An analogy that the teacher used was that an animal like a fox has to go out from the safety of the bushes to take a drink of water front the river. The fox is vulnerable to predators who could get it but the water is beneficial and will help the fox survive.
We discussed that we all are going to be in a way "vulnerable" while doing this project. We had the students write down on little slips of paper things that they are afraid of or something that they want to improve themselves. No one saw these written statements and these were put into the origami boxes that they made from their printmaking paper. It turned out super cool!

Here is the link to the powerpoint that I used:
https://docs.google.com/presentation/d/1AxWcKENcpJa0rQjptWnUvOgFe4VZFmTTSJzq7ueWLFE/edit?usp=sharing

We then talked about what installation means and how the art sculpture can fill a space and make a conversation. I talked about some of these installations in the powerpoint but also talked about Gonzalez Torres and his reason behind his candy pile installation.

Gonzalez had a friend who was suffering and died from a deadly disease (AIDS) and this sculpture signifies his friend. The amount of candy weighs as much as his friend did and he encouraged those entering the gallery to take a piece of candy and eat it. Over time as people took the candy it symbolized the slow deterioration of his friend's body until it was all gone.

I then explained how we were going to install our boxes in the school. I thought of some ideas of what to do with their installations and the kids followed installing their boxes and then I took a picture of the installation. The super small box is mine, and the orange box is the teacher's. The teacher came up with a few ideas and we had time for one more idea from a student. The children were bursting with ideas, they were so excited!


The front office!


We constantly reminded them how these boxes symbolized them and them showing their fears to everyone in the school without actually showing them. It was a pretty fun experiment and they enjoyed it!